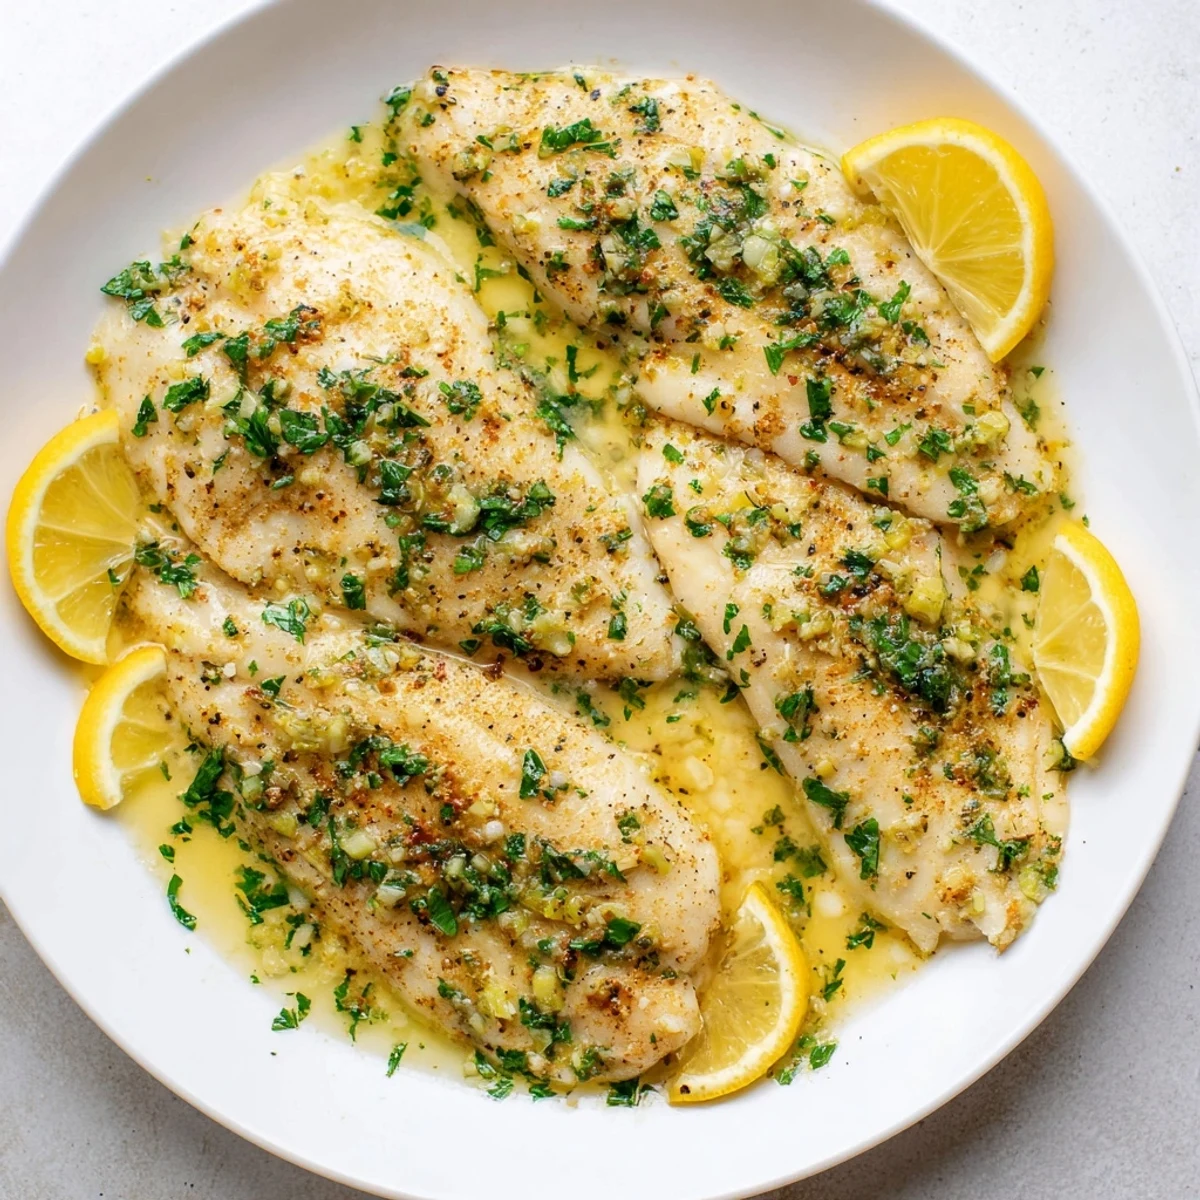
 Épingler
 Découvrez une préparation simple de tilapia cuit au four dans une sauce beurre parfumée à l’ail, citron et persil. Ce plat léger met en valeur la tendreté du poisson tout en offrant une explosion de saveurs grâce au mélange d’épices douces. Idéal pour un dîner rapide et sain, accompagné de légumes vapeur ou d’une salade fraîche. La cuisson précise garantit un poisson moelleux, délicatement rehaussé par une cuisson courte sous gril si désiré.
There's something about the smell of garlic and butter hitting a hot pan that makes you feel like you've got this, you know? I was in a rush one Tuesday evening, staring at four tilapia fillets and wondering what wouldn't keep me in the kitchen past seven o'clock. A friend had mentioned baking fish with garlic butter months before, and suddenly it clicked—this was the answer. Fifteen minutes later, with the oven doing most of the work, I had something that tasted like I'd actually planned ahead.
I made this for my sister when she was trying to eat lighter after New Year's, and she asked for the recipe before she'd even finished her plate. That moment when someone sets their fork down and says, "Wait, how did you do this?" never gets old. She's made it probably twenty times now.
Ingredients
- 4 tilapia fillets (about 150 g each): Look for fillets that are pale and smell like the ocean, not fishy—that's how you know they're fresh and will stay tender when baked.
- 4 tablespoons unsalted butter, melted: Unsalted lets you control the salt level, and melted butter distributes more evenly than cold pieces would.
- 3 cloves garlic, minced: Fresh garlic makes a real difference here; it'll perfume the whole kitchen as it cooks.
- 2 tablespoons fresh lemon juice: This brightens the richness of the butter and keeps the fish from feeling heavy.
- 1 teaspoon lemon zest: Don't skip this—it adds a peppery citrus note that takes it from good to memorable.
- 2 tablespoons fresh parsley, chopped: Parsley looks pretty and cuts through the buttery richness with a subtle peppery bite.
- ½ teaspoon salt and ¼ teaspoon black pepper: Season conservatively since the butter carries salt too.
- ¼ teaspoon paprika: Just enough to warm up the color and add a whisper of smokiness.
Instructions
- Get your oven ready:
- Heat to 200°C (400°F) and lightly grease a baking dish. This gives you a moment to breathe before the cooking actually starts.
- Dry and arrange your fish:
- Pat the fillets completely dry with paper towels—this is the trick that keeps them from steaming and instead lets them cook through gently. Lay them in the dish in a single layer.
- Make the magic sauce:
- Combine the melted butter, minced garlic, lemon juice, lemon zest, parsley, salt, pepper, and paprika in a small bowl. Stir it together and let the garlic settle into the butter for a moment.
- Pour and coat:
- Pour the garlic butter mixture evenly over each fillet, making sure they're all well coated. Don't be shy—this sauce is where all the flavor lives.
- Bake until flaky:
- Bake for 15–18 minutes, watching for the moment when the fish goes from slightly translucent to opaque and flakes easily when you touch it with a fork. You'll know because the kitchen will smell incredible.
- Optional golden finish:
- If you want the top lightly browned, broil for 1–2 minutes at the end, but watch carefully so the butter doesn't burn.
- Finish and serve:
- Scatter lemon wedges and a bit more fresh parsley on top, then bring it straight to the table while it's hot.
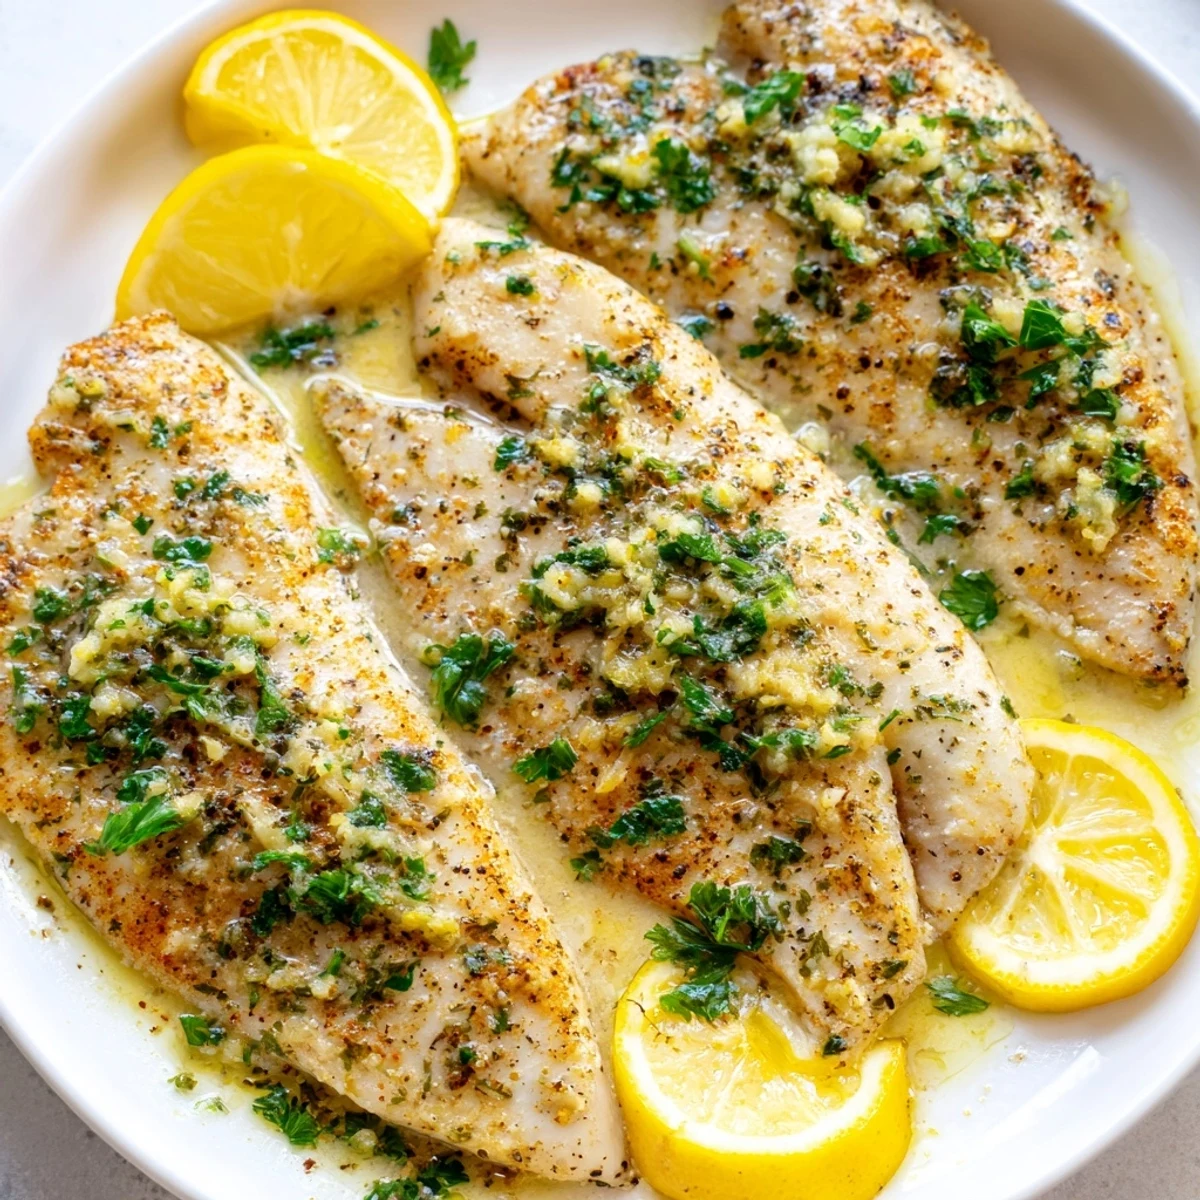 Épingler
 There was an evening when I made this for my mom, and she sat at the table for an extra twenty minutes just talking, which never happens because she's always thinking about what's next. The fish was just an excuse, I think, to slow down for a bit.
What Makes This Fish Different
Tilapia gets a bad reputation sometimes, but when it's cooked properly it's mild and buttery and takes on whatever flavors you give it. The garlic butter technique here is what transforms a humble weeknight fillet into something that feels intentional. The key is not overcooking it—tilapia is delicate, and five minutes too long in the oven makes all the difference.
Serving and Pairing Ideas
I usually serve this with something light on the side because the garlic butter sauce is rich enough to stand on its own. Steamed asparagus or green beans work beautifully, and rice soaks up that buttery sauce without fighting for attention. A fresh salad with a tangy vinaigrette on the side balances things out if you want something brighter.
Making It Your Own
The beauty of this recipe is how flexible it is—you can swap the tilapia for cod or haddock if that's what's at the market, and honestly the results are just as good. A friend added red pepper flakes one night and suddenly it had this spicy undercurrent that changed everything. The bones of the dish stay the same, but there's room to play.
- Try adding a pinch of crushed red pepper flakes if you want a little heat running through it.
- A splash of white wine mixed into the butter sauce adds another layer of flavor without making it complicated.
- Fresh dill works just as well as parsley if that's what you have on hand.
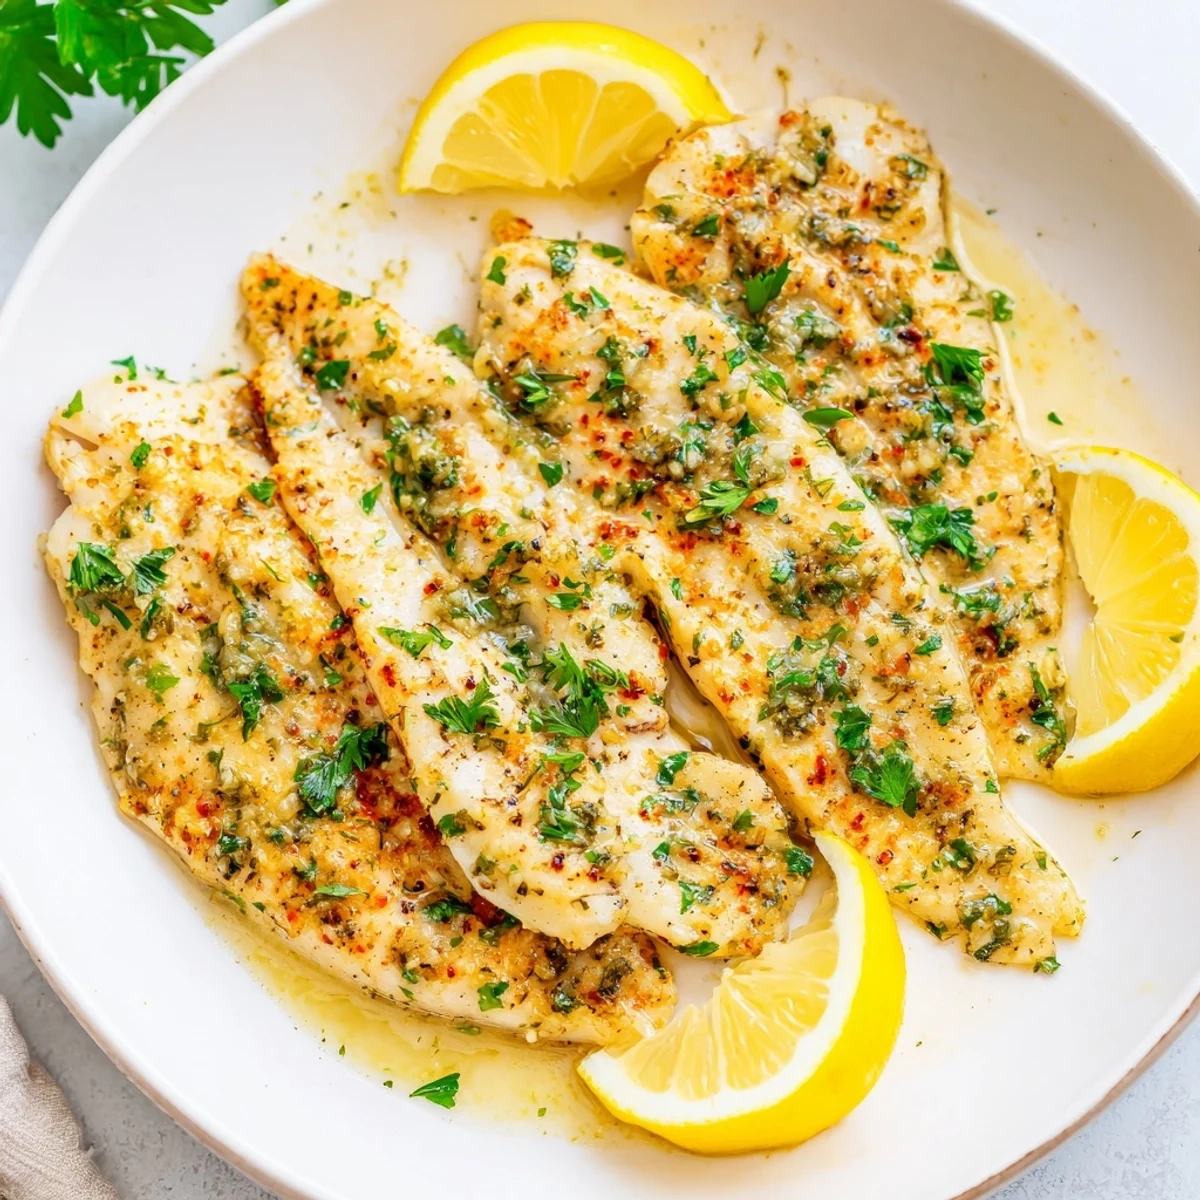 Épingler
 This recipe sits in that sweet spot where it's easy enough to make on a Tuesday but impressive enough that you don't feel bad serving it to someone you actually like. That's the whole point, really.
Questions fréquentes sur la recette
- → Quel type de poisson peut remplacer le tilapia ?
-
Vous pouvez utiliser du cabillaud, du lieu ou tout autre poisson blanc ferme pour conserver la texture et la cuisson.
- → Peut-on préparer la sauce à l’avance ?
-
Oui, la sauce beurre ail citron se prépare rapidement et peut être faite avant d’enfourner le poisson pour plus de gain de temps.
- → Comment obtenir une texture parfaite du poisson ?
-
Veillez à ne pas trop cuire le poisson. Il doit se détacher facilement à la fourchette sans être sec.
- → Quelles garnitures s’accordent bien ?
-
Des légumes vapeur, du riz ou une salade fraîche accompagnent parfaitement ce plat aux saveurs légères.
- → Peut-on ajouter du piquant à la sauce ?
-
Oui, incorporer une pincée de flocons de piment rouge apportera un léger coup de chaleur à la sauce.
- → Faut-il utiliser du beurre salé ou non salé ?
-
Le beurre non salé est préféré pour mieux contrôler l’assaisonnement final du plat.